Main Page: Difference between revisions

From PyMOLWiki
Jump to navigation Jump to search
No edit summary
(dssr_block)
Line 24: Line 24:
{| class="jtable" style="float: left; width: 90%;"
|+ style="font-size: 1.4em; font-weight: bold; text-align:left; border-bottom: 2px solid #6678b1;" | News & Updates
|+ style="font-size: 1.4em; font-weight: bold; text-align:left; border-bottom: 2px solid #6678b1;" | News & Updates
|-
! New Script
| [[dssr_block]] is a wrapper for DSSR (3dna) and creates block-shaped nucleic acid cartoons
|-
|-
! New Plugin
! New Plugin

Revision as of 11:52, 26 January 2016

Welcome to the PyMOL Wiki!
The community-run support site for the PyMOL molecular viewer.
New accounts: email jason (dot) vertrees (@) gmail dot com
Quick Links
Tutorials Table of Contents Commands
Script Library Plugins FAQ
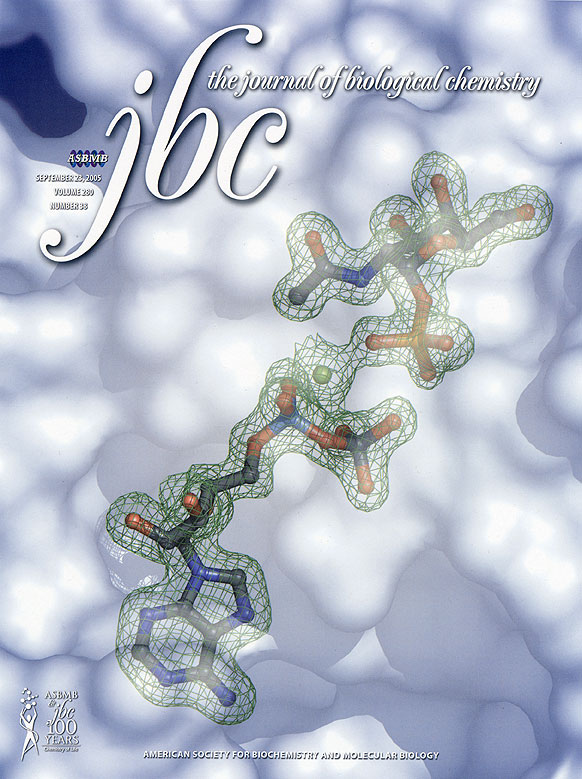
Gallery | Covers PyMOL Cheat Sheet (PDF) Getting Help
News & Updates
New Script dssr_block is a wrapper for DSSR (3dna) and creates block-shaped nucleic acid cartoons
New Plugin LiSiCA is a new plugin for 2D and 3D ligand based virtual screening using a fast maximum clique algorithm.
Official Release PyMOL v1.8.0 has been released on Nov 18, 2015.
PyMOL Open-Source Fellowship Schrödinger is now accepting applications for the PyMOL Open-Source Fellowship program! Details on http://pymol.org/fellowship
Official Release PyMOL, AxPyMOL, and JyMOL v1.7.6 have all been released on May 4, 2015.
New Plugin PyANM is a new plugin for easier Anisotropic Network Model (ANM) building and visualising in PyMOL.
New Plugin Bondpack is a collection of PyMOL plugins for easy visualization of atomic bonds.
New Plugin MOLE 2.0 is a new plugin for rapid analysis of biomacromolecular channels in PyMOL.
3D using Geforce PyMOL can now be visualized in 3D using Nvidia GeForce video cards (series 400+) with 120Hz monitors and Nvidia 3D Vision, this was previously only possible with Quadro video cards.
Older News See Older News.
Did you know...

Depth cue

== Overview ==

One can adjust the fog that PyMol overlays on objects in the viewer window. This fog helps to assist in emphasizing what is in the foreground and backgound of the image with respect to the camera.

In mouse mode, 3-Button Viewing:

Rear clipping plane- hold down the shift key and the right mouse button and drag the mouse to the right, more fog will be added to the background. Drag to the left and more fog will be removed from the background.

Front clipping plane- hold down the shift key and the right mouse button and drag the mouse toward you. You should see the clipping plane come into view. Adjust the front and rear clipping plane to focus on the area of the molecule you wish to display.

Syntax

set depth_cue, 1  # turn on depth cueing
set depth_cue, 0  # turn off depth cueing
set fog_start, 0.45 #use a number between 0.01 and 0.99 to adjust where the fog will start in the plane of view. Default is 0.45

Example

..→
A Random PyMOL-generated Cover. See Covers.